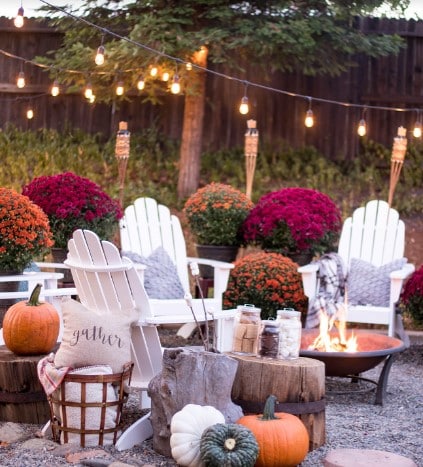
As the vibrant hues of autumn fade into the crisp chill of winter, it’s time to shift our focus from outdoor gatherings to the cozy confines of our homes. Alongside this seasonal transition comes the task of safeguarding our outdoor furniture from the harsh elements of winter. Properly winterizing your outdoor furniture can ensure its longevity and save you the hassle of costly replacements. In this guide, we’ll walk you through some essential steps to protect your beloved outdoor pieces during the colder months.
1. Clean and Prepare
Before you embark on the winterizing process, give your outdoor furniture a thorough cleaning. Dirt, pollen, and grime can accumulate over the warmer months, and if left unchecked, they can cause deterioration. Use a gentle soap and water solution to clean various materials such as wood, metal, plastic, and wicker. For cushions and fabric parts, check the manufacturer’s guidelines for appropriate cleaning methods. Once everything is clean and dry, you’re ready to move on to the next steps.
2. Storage Solutions
If you have the space, consider moving your outdoor furniture indoors during the winter. A dry, climate-controlled environment is the best protection against winter’s wrath. Basements, garages, or even a spare room can be ideal storage spots. If bringing the furniture inside isn’t feasible, invest in high-quality furniture covers. These covers are designed to shield your furniture from moisture, snow, and debris. Ensure that the covers fit snugly and are made from breathable materials to prevent mold and mildew growth.
3. Disassemble and Stack
For furniture that can be disassembled, such as stackable chairs or foldable tables, take advantage of this feature. Disassembling the furniture not only saves space but also prevents stress on joints and connections that can result from heavy snow loads. Stack the pieces neatly and cover them to protect against dust and moisture.
4. Elevate from the Ground
One commonly overlooked aspect of winterizing outdoor furniture is elevating it from the ground. This is especially important for furniture with legs, such as chairs and tables. Placing furniture on blocks or risers prevents moisture from seeping into the legs and causing damage like rust or rot. This simple step can significantly extend the life of your outdoor pieces.
5. Apply Protective Coatings
Different materials require different forms of protection. Wooden furniture, for instance, can benefit from a fresh coat of sealant or paint before winter sets in. This barrier shields the wood from moisture and freezing temperatures. Similarly, metal furniture can be treated with rust-resistant coatings to prevent corrosion. Plastic and wicker furniture may not require additional coatings, but a protective spray can add an extra layer of defense against the elements.
6. Maintain Throughout Winter
Your responsibility doesn’t end once the furniture is safely stored or covered. Periodically check on your furniture throughout the winter months. If you notice any damage, address it promptly to prevent it from worsening. Remove any accumulated snow or debris from covers to prevent excess weight and moisture buildup.
As the seasons change, taking the time to properly winterize your outdoor furniture can save you money and effort in the long run. By following these steps, you can protect your investment and ensure that your outdoor furniture remains in excellent condition, ready to be enjoyed once again when the warmer days return. Remember, a little effort now can go a long way in preserving the beauty and functionality of your outdoor living space.
